Introduction
Keeping your keyboard tidy is vital for its performance and aesthetics. Dust, crumbs, and dirt can build up quickly, making typing more difficult and possibly impacting the keyboard’s functionality. If you’re looking for How to Clean a Keyboard Without Removing Keys, you’re in the right spot. This guide will cover quick cleaning techniques, detailed methods, and tips for using compressed air. And I have lots of experience that I am going to share with you: I clean my keyboard regularly, and I have been using it for 3 years, and it has not had any damage yet. I think it’s possible because of my maintenance.
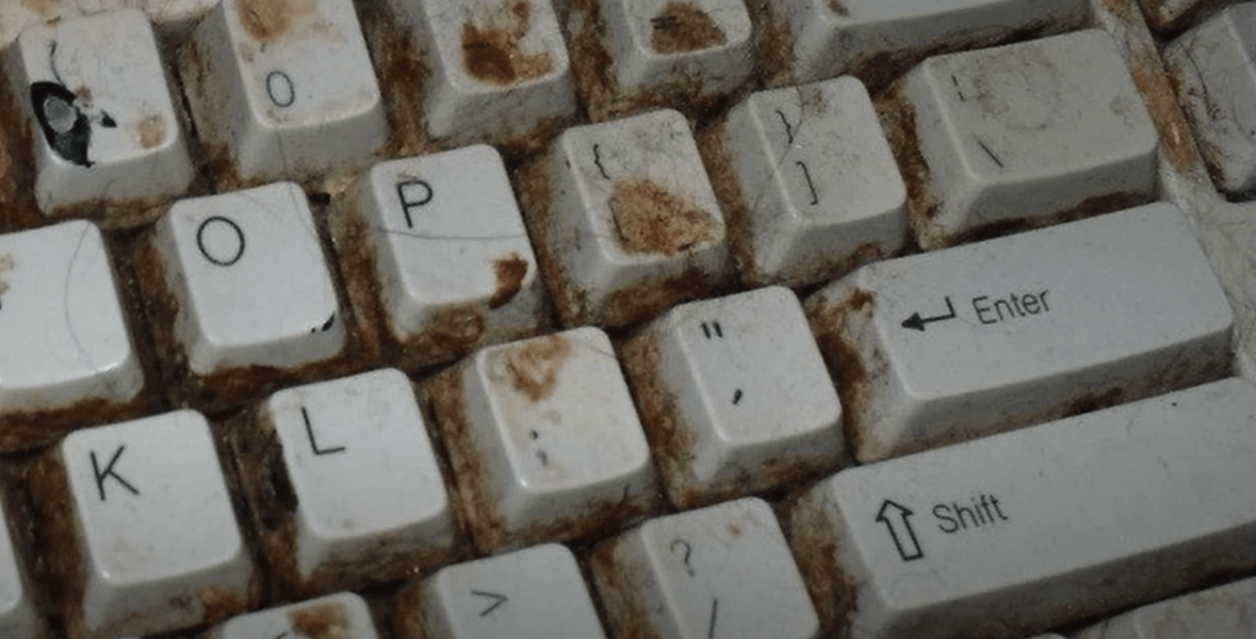
 A bad, dirty keyboard
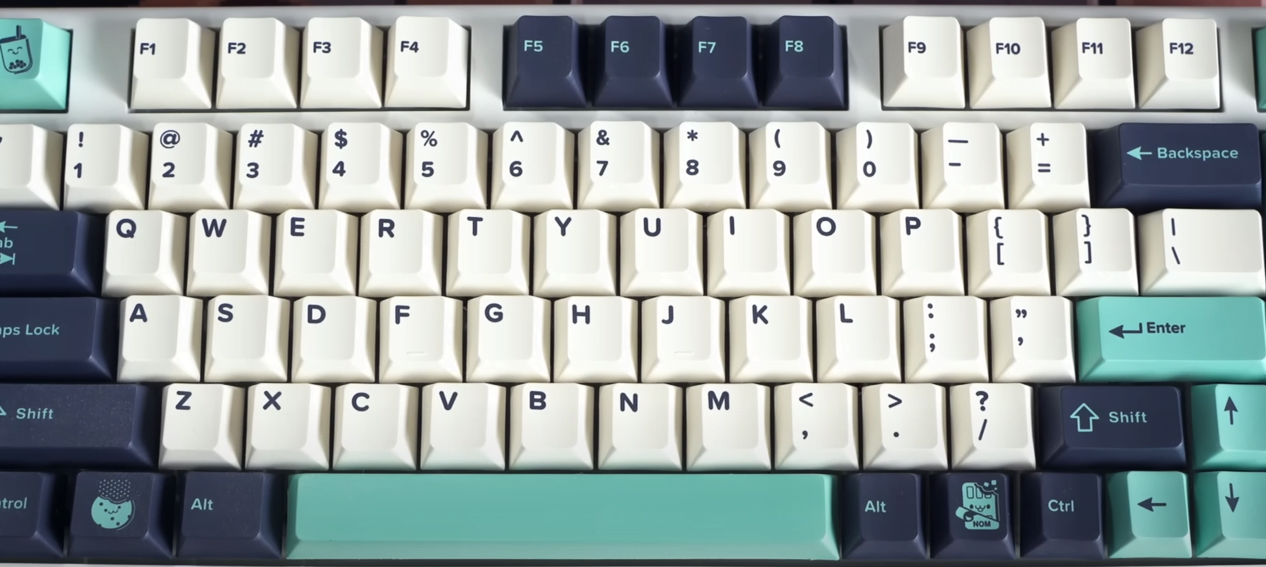
to clean fresh new keyboard 
Using Compressed Air for Keyboard Cleaning
Compressed air is an effective tool for cleaning a keyboard without removing the keys. It can blow away dust and debris that accumulate between the keys. Here’s how to use it properly:
Benefits of Mechanical Keyboard
Prepare the Keyboard:
- What You Need: A can of compressed air and a brush
- Setup: Unplug the keyboard or switch it off. Turn it upside down over a cloth to catch any debris that falls.
Blow out debris:
- How to Do It: Hold the can of compressed air upright and use short bursts to blow air between the keys. This technique helps dislodge dust and particles stuck in those spaces.
- Tip: Keep the can a few inches away to prevent moisture from escaping. Use quick bursts instead of a continuous stream to avoid condensation.
Clean remaining debris:
- What to Do: If any debris is still there, use a soft brush to gently remove it. Follow up with another round of compressed air to clear out any leftover particles.
- Tip: A small handheld vacuum can also be handy for sucking up dislodged debris.
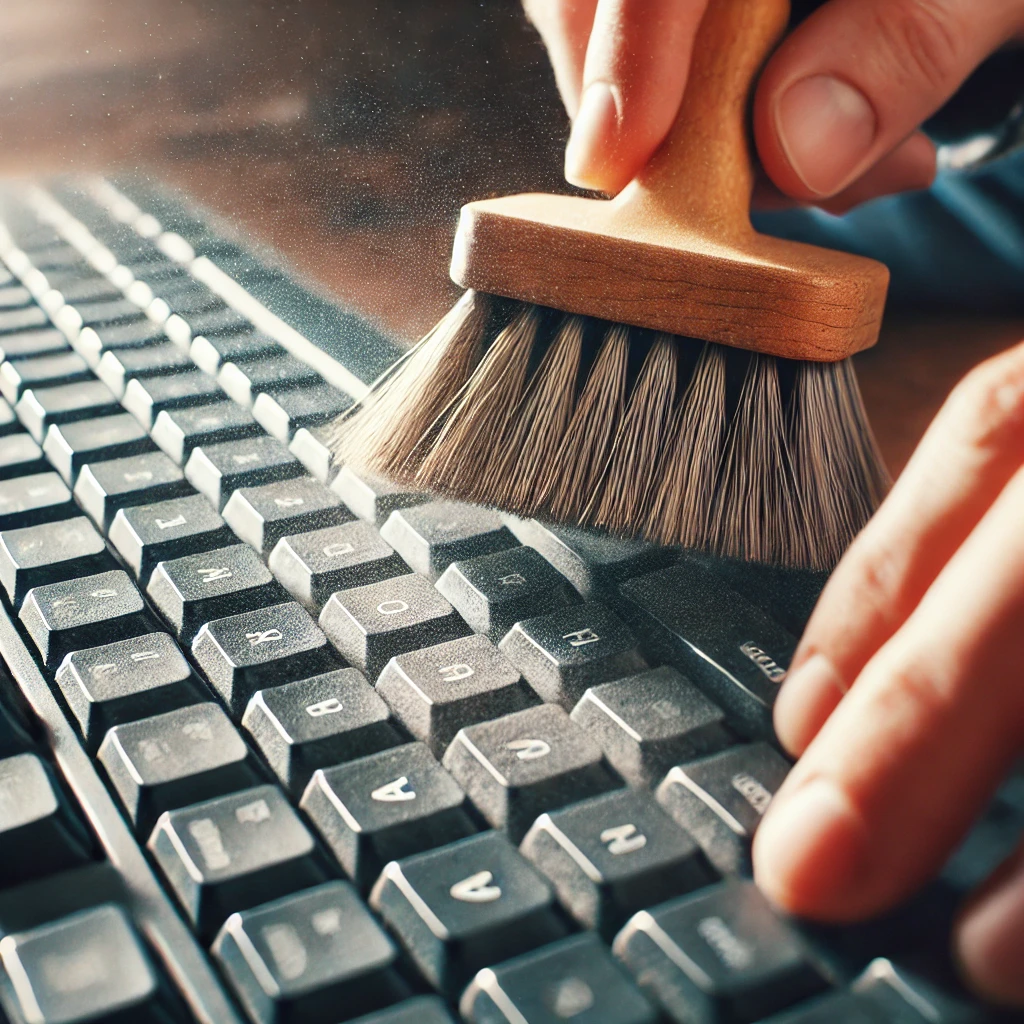
Use The Brush
- What to Do: Use your brush to clean the gaps between the keyboard slots.

- Tips: Shake your keyboard upside down to get all the dirt out.
Final Wipe Down:
- What You Need: A microfiber cloth.
- How to Do It: Wipe the keyboard with the microfiber cloth to eliminate any lingering dust. This ensures your keyboard is clean and ready for use.
- Tip: Do this step right after using compressed air to catch any dust that may have settled.
This method is perfect for quickly maintaining a clean keyboard without removing keys, making it easy to keep your workspace organized.\
You can also read this how to clean a laptop keyboard article.
In-Depth Cleaning Guide For Cleaning Your Keyboard (20 to 25 Minutes)
For a more thorough cleaning, follow this step-by-step guide to clean your keyboard without removing the keys:
Set Up Your Workspace:
- What You Need: A soft brush, microfiber cloth, cleaning gel, and disinfectant solution.
- Preparation: Unplug the keyboard or turn it off. Lay down a cloth to catch any debris.
Brush and shake:

- How to Do It: Use a soft brush to sweep away dust and debris. Turn the keyboard upside down and gently shake it to dislodge larger particles.
- Tip: A small vacuum with a brush attachment can be useful for more effective cleaning.
Apply Cleaning Gel:
- What to Do: Press cleaning gel or slime onto the keyboard and lift it away to pick up dirt and debris. Repeat this until the gel comes away clean.
- Tip: Cleaning gel is great for reaching areas between keys where dust and grime tend to gather.
Wipe Down with a Microfiber Cloth:
- What You Need: Cleaning gel is great for reaching areas between keys where dust and grime tend to gather.
- How to Do It: Wipe the keys and surface in a circular motion, cleaning around the edges of the keys and in between them.
- Tip: Use a gentle electronics cleaner for better results and avoid excess moisture.
Disinfect:
- What You Need: Disinfectant wipes or spray.
- How to Do It: Wipe the keys with disinfectant wipes or apply disinfectant to a cloth and clean the keyboard. Avoid spraying directly onto the keyboard to prevent damage.
- Tip: Disinfection is especially important in shared or high-touch environments.
Dry Thoroughly:
- What You Need: A dry microfiber cloth.
- How to Do It: After cleaning, use the cloth to remove any moisture. Allow the keyboard to air dry completely before reconnecting or using it.
- Tip: Ensure the keyboard is in a well-ventilated area to prevent any leftover moisture.
This comprehensive cleaning session helps ensure that your keyboard stays free from grime and bacteria, providing a deep clean without removing keys.
How to Clean a Keyboard Without Compressed Air
If you don’t have compressed air, there are other effective ways to clean your keyboard without removing keys:

Soft Brush or Dusting Wand:
- What You Need: A soft brush or dusting wand.
- How to Do It: Gently brush or sweep the keyboard to remove dust and debris. This method is useful for cleaning hard-to-reach areas.
- Tip: A dusting wand with a small vacuum attachment can be particularly effective.
Vacuum cleaner attachment:
- What You Need: A vacuum cleaner with a small brush attachment.
- How to Do It: Use the vacuum to gently clean the keyboard’s surface and between the keys. This method is good for removing crumbs and larger particles.
- Tip: Set the vacuum to a low setting to avoid damaging the keyboard.
Cleaning Gel or Slime:
- What You Need: Cleaning gel or slime.
- How to Do It: Press the gel or slime onto the keyboard to pick up dirt. This method works well for areas between keys.
- Tip: Cleaning gel is also great for other electronics and surfaces.
Microfiber Cloth with Cleaning Solution:
- What You Need: A microfiber cloth and a mild cleaning solution.
- How to Do It: Dampen the cloth with cleaning solution and wipe the keyboard. Avoid using too much moisture.
- Tip: For stubborn stains, use a gentle electronics cleaner that’s safe for your keyboard.
Homemade Cleaning Solution:
- What You Need: Vinegar, water, and a microfiber cloth.
- How to Do It: Mix equal parts vinegar and water. Dampen a cloth with the solution and wipe down the keyboard.
- Tip: Ensure the cloth is only slightly damp to prevent moisture from getting inside the keyboard.
These methods offer effective alternatives for cleaning your keyboard without compressed air, helping you maintain its appearance and functionality.
My Personal Experience
I’ve cleaned my keyboards numerous times and discovered that different methods work better depending on the situation. For a quick fix, I rely on compressed air, which is excellent for blowing out dust and crumbs from between the keys. I also find that a soft brush is useful for reaching tight spots that the air might miss.
When I need a more thorough clean, I dedicate about 20 minutes to the task. I use cleaning gel to eliminate dirt and grime between the keys, followed by a good wipe-down with a microfiber cloth. Disinfecting is crucial, especially if the keyboard is shared by multiple users.
Without compressed air, my vacuum cleaner with a brush attachment is very helpful for picking up larger particles. I also favor cleaning gel for those hard-to-reach areas. For regular maintenance, a microfiber cloth with a mild cleaning solution does the job well.
Overall, combining these methods ensures that my keyboard remains clean and functional. Each tool and technique has its benefits, and using them together helps keep my keyboard in great condition. Finding the right balance and routine has made keyboard maintenance much simpler.
You can also read our how to clean Your pc Hardware article.
Can I wash my keyboard with water?
Can dust damage a keyboard?
Conclusion
Keeping your keyboard clean is essential for its performance and hygiene. Whether you opt for compressed air, spend time on a thorough clean, or explore alternative methods without compressed air, each approach contributes to keeping your keyboard in excellent shape. Regular cleaning enhances your typing experience and prolongs the life of your keyboard. By incorporating these techniques and considering personal preferences, you can maintain your keyboard’s appearance and functionality. Enjoy a cleaner, more efficient workspace with these effective cleaning methods!

